
Tile isn’t just functional, it’s the design backbone of any kitchen. The right tile choice can make a galley kitchen feel twice its size, hide years of wear, or become the centerpiece that ties together countertops, cabinets, and fixtures. But walk into any tile showroom and you’ll face hundreds of options: subway, hexagon, porcelain, natural stone, matte, glossy. The decisions stack up fast. This guide cuts through the noise with practical advice on materials, layouts, color trends, and planning strategies that work in real kitchens, not just design magazines.
Key Takeaways
- Porcelain tile is the ideal flooring choice for high-traffic kitchens due to its durability, stain resistance, and ability to withstand temperature changes near ovens and dishwashers.
- Kitchen tile design directly impacts both home resale value and spatial perception—the right material and layout can make rooms feel larger and more cohesive while standing up to daily heat, moisture, and grease.
- Subway patterns and hexagon layouts offer proven visual appeal, while diagonal arrangements make narrow kitchens feel wider; always dry-lay your pattern first to minimize waste and avoid slivers on visible edges.
- Warm neutrals, matte finishes, and textured tiles dominate current trends, but backsplashes are your opportunity to take design risks with bold colors or patterns without overwhelming the entire space.
- Epoxy grout on floors resists staining better than standard grout, and ordering 15% extra tile upfront protects against breakage, cuts, and future repairs when discontinued styles are impossible to match.
- Proper substrate preparation, 24–48 hours thinset curing time, and pre-sealing natural stone before grouting are non-negotiable steps that determine whether your tile project lasts decades or fails prematurely.
Why Kitchen Tile Design Matters More Than You Think
Tile is one of the few materials in a kitchen that handles heat, moisture, grease, and impact daily. A poorly chosen tile won’t just look wrong, it’ll crack, stain, or require constant maintenance.
Your tile selection affects resale value. Real estate agents consistently report that updated kitchens with cohesive tile work sell faster and command higher prices. Buyers notice dated backsplashes and worn floors immediately.
Tile also defines zones. A contrasting floor tile can visually separate a cooking area from a dining nook without walls. A bold backsplash draws the eye upward, making low ceilings feel taller. These aren’t decorating tricks, they’re spatial problem-solving.
Finally, tile is semi-permanent. Unlike paint or hardware, replacing tile means demolition, dust, and real expense. Getting it right the first time saves money and headaches down the line.
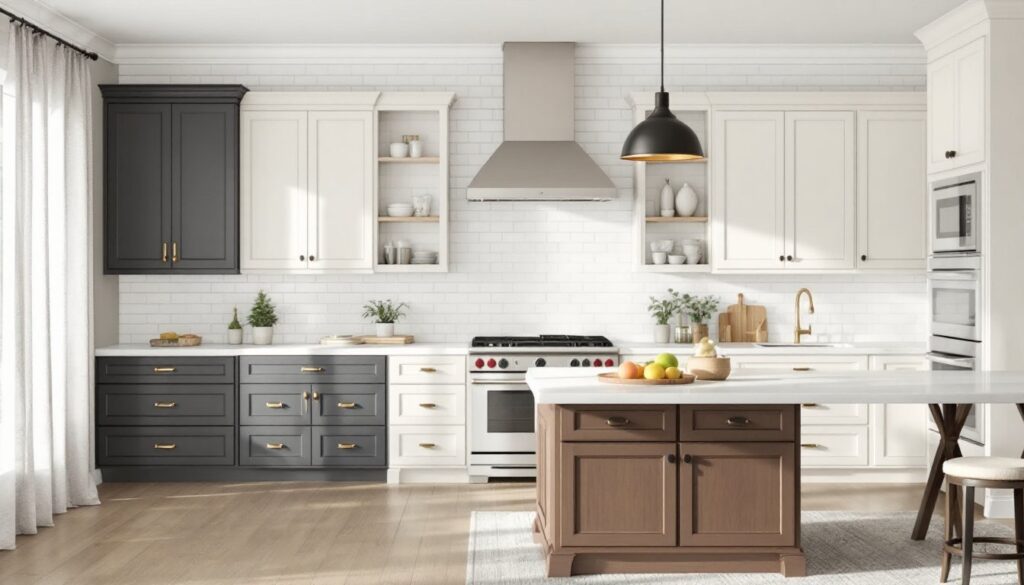
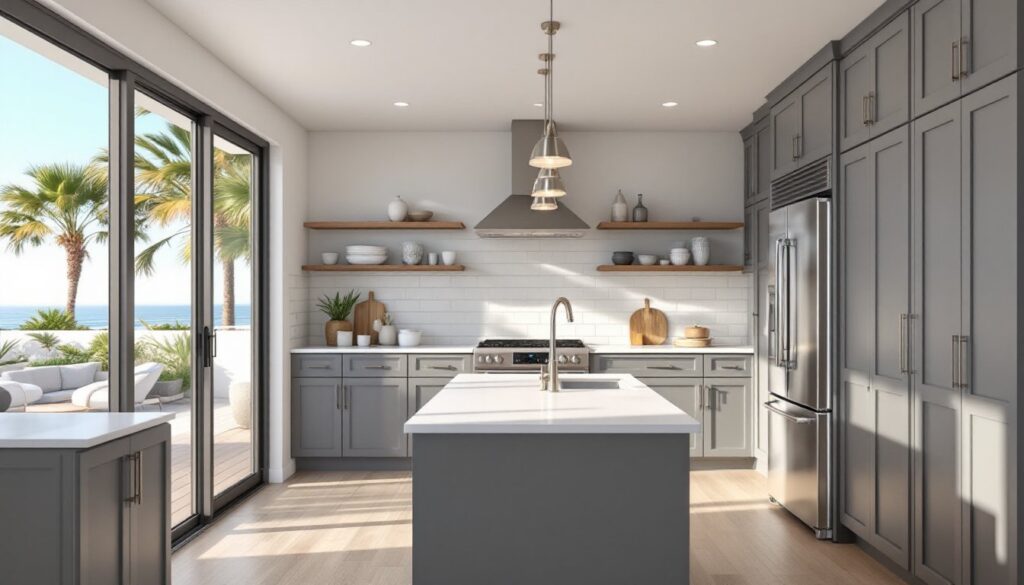
Choosing the Right Tile Material for Your Kitchen
Porcelain is the workhorse. It’s denser and less porous than ceramic, which means better stain resistance and durability. Look for porcelain rated for floor use (PEI 4 or 5) if you’re tiling high-traffic areas. It handles temperature swings well, making it ideal near ovens and dishwashers. Porcelain can mimic natural stone, wood, or concrete at a fraction of the cost.
Ceramic works for backsplashes and light-duty floors. It’s more affordable than porcelain but more prone to chipping. Glazed ceramic resists moisture well, but the glaze can crack under heavy impact. Save ceramic for walls or low-traffic zones.
Natural stone, marble, slate, travertine, brings unique veining and texture. Stone requires sealing every 6–12 months to prevent staining, especially with acidic foods like lemon juice or wine. Marble scratches and etches easily: it’s gorgeous but high-maintenance. Slate offers better durability and a matte, textured surface that hides wear.
Glass tile reflects light beautifully, making small kitchens feel brighter. It’s best reserved for backsplashes: glass is slippery and fragile underfoot. Installation requires a skilled hand, any thinset irregularities show through transparent tile.
Cement tile is porous and must be sealed before and after grouting. The patterns are embedded, not printed, so they won’t wear off. Expect a matte, slightly rustic finish. Cement tile is heavy: confirm your substrate can handle the weight.
For floors, prioritize slip resistance. Look for tiles with a textured or matte finish and a coefficient of friction (COF) rating of 0.42 or higher, especially important near sinks and prep areas where spills happen.
Popular Kitchen Tile Layout Patterns to Consider
Subway pattern (running bond) is classic for a reason: it’s easy to install, visually clean, and works with nearly any tile size. Offset each row by half a tile length. Use 3×6-inch tiles for traditional looks or oversized 4×12-inch for a modern take.
Herringbone adds movement without chaos. It requires precise cuts at edges and corners, plan for 10–15% waste. A 45-degree herringbone feels formal: a 90-degree (or “parquet”) version is more relaxed. This pattern works beautifully with narrow planks or rectangular tiles.
Hexagon (honeycomb) creates visual interest on floors and backsplashes. Small hex mosaics (1–2 inches) read as texture from a distance: larger hexes (6–8 inches) make a bolder statement. Cutting hexagons around outlets and corners takes patience. Bring a wet saw or hire a pro.
Grid (stack bond) aligns tiles in perfect rows and columns. It’s the fastest layout to install but amplifies any irregularities in your walls or substrate. Best suited for large-format tiles (12×24 inches or bigger) where fewer grout lines create a sleek, minimalist look.
Diagonal patterns make narrow kitchens feel wider by drawing the eye across the space. You’ll need more cuts and waste material, but the effect is worth it in tight layouts. Start your layout from the center of the room and work outward to keep cuts symmetrical along walls.
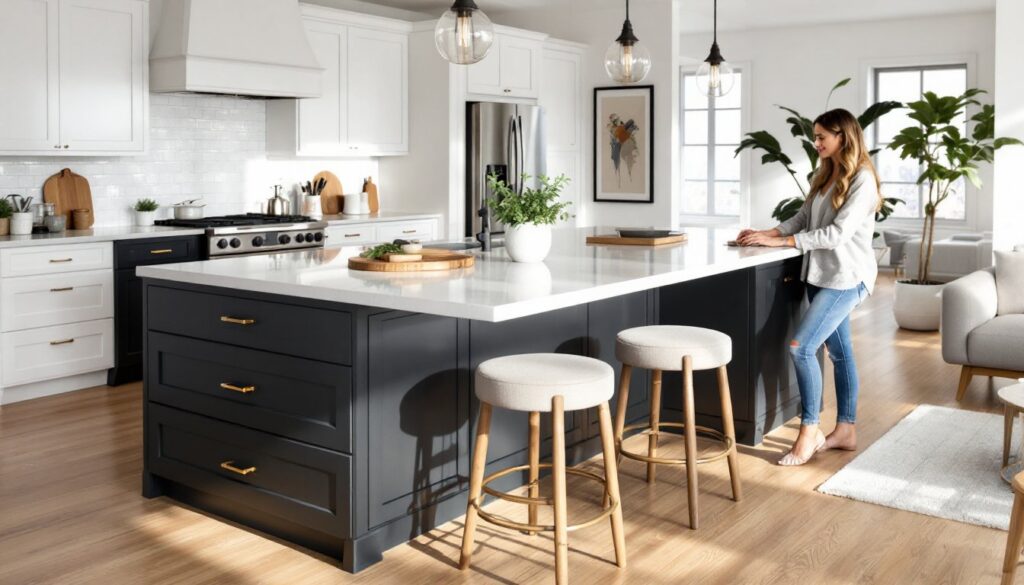
Mixed patterns, combining a subway backsplash with hexagon floors, for instance, can work if you keep one element neutral. Too many competing patterns create visual clutter. The backsplash installation approach you choose should complement, not compete with, your flooring.
Color and Finish Trends in Kitchen Tile Design
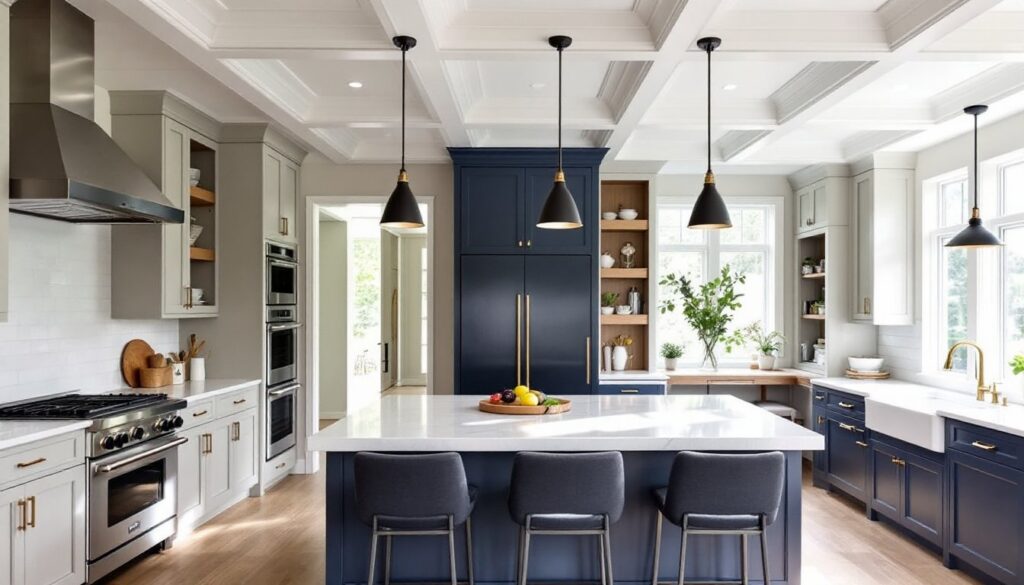
Warm neutrals dominate 2026 kitchens. Think terracotta, soft beige, greige, and warm whites. These tones pair well with natural wood cabinetry and brass or matte black fixtures. They age better than stark whites, which can feel sterile or show grime.
Deep, moody colors, charcoal, navy, forest green, work as accent backsplashes behind ranges or sinks. They ground a space and hide splatter better than light tiles. Pair dark tile with plenty of task lighting to avoid a cave-like feel.
Bold patterns are back, especially cement tiles with geometric or floral motifs. Use patterned tile as a focal point, an accent wall behind the stove or an island kickplate, and keep surrounding surfaces simple.
Matte finishes resist fingerprints and water spots better than gloss. They also provide better slip resistance on floors. High-gloss tiles still have a place on backsplashes where light reflection brightens the workspace, but the trend is shifting toward satin and honed finishes.
Textured tiles, ribbed, 3D, or relief patterns, add depth without color. They’re especially effective in monochromatic kitchens where subtle variation keeps things interesting. Be aware that deep textures collect grease and require more frequent cleaning.
When choosing color, test samples in your actual kitchen. Tile looks different under natural light, recessed LEDs, and pendant fixtures. Bring home at least three options and live with them for a few days before committing.
Backsplash vs. Floor Tiles: Design Considerations
Backsplash tiles don’t bear weight, so you can use lighter, thinner materials, glass, thin porcelain, even metal accents. Standard backsplash height is 18 inches, but full-height (to the ceiling or upper cabinets) creates a seamless, easy-to-clean surface. Plan for outlets, switches, and range hoods: cutting tile around these takes time.
Backsplashes are where you can take risks. A bold color or pattern here won’t overwhelm the room the way the same choice would on the floor. Many homeowners use kitchen design strategies that feature a neutral floor and a statement backsplash for this reason.
Floor tiles need to be durable and slip-resistant. Minimum thickness is typically 3/8 inch for ceramic or porcelain. Large-format tiles (12×24 inches or larger) mean fewer grout lines to clean, but they require a flat substrate, any dips or humps in the subfloor will cause lippage (uneven tile edges).
Floor tile layout affects how a room reads. Running rectangular tiles parallel to the longest wall makes a narrow kitchen feel longer. Diagonal layouts widen tight spaces but require more cuts.
Grout color matters more on floors. Light grout shows dirt: dark grout can make a space feel busy if your tiles are also dark. Mid-tone grays are forgiving. Use epoxy grout on floors, it’s more expensive but resists staining and doesn’t require sealing.
Transitions between tile and other flooring (hardwood, vinyl) need planning. Use a metal or wood transition strip at doorways. If your kitchen opens to a living area, consider running the same tile throughout for visual continuity, especially in open-plan homes.
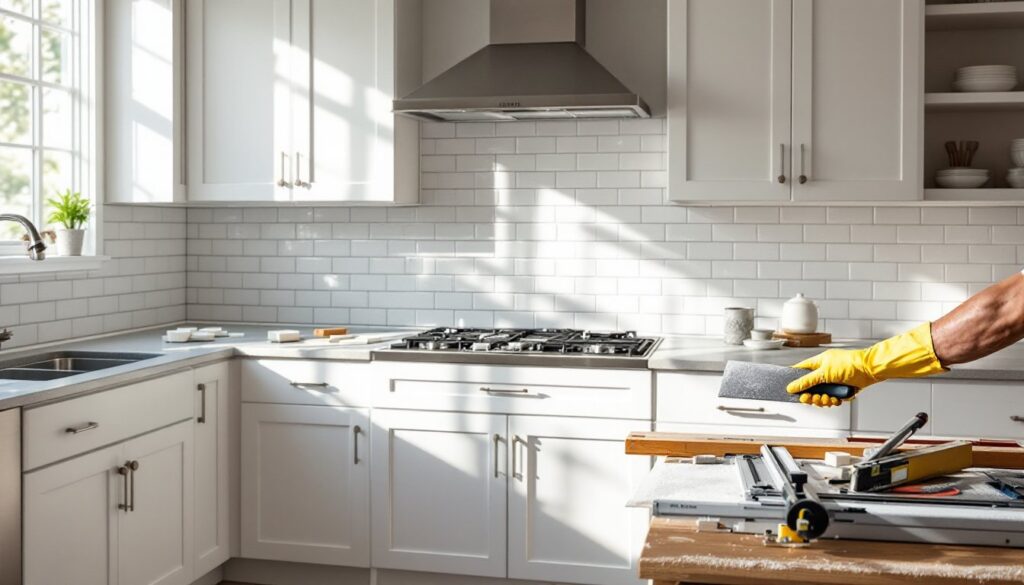
Practical Tips for Planning Your Kitchen Tile Project
Order 10–15% extra tile to cover breakage, cuts, and future repairs. Dye lots vary, and discontinued styles are hard to match years later. Store extra tiles in a dry spot.
Check your substrate. Tile needs a solid, flat base. For floors, that’s usually cement board over plywood (minimum 1-1/4 inches combined thickness). Drywall works for backsplashes, but cement board is better in wet zones behind sinks. If your floor has any flex, tile will crack. Add blocking or reinforcement before tiling.
Dry-lay your pattern first. Spend an hour arranging tiles without adhesive to see how cuts will fall. Adjust your starting point so you don’t end up with slivers along visible edges. Centering your layout on a focal point (range, island, doorway) makes the design feel intentional.
Rent or buy the right tools. A wet saw is essential for straight cuts on porcelain or stone. A tile nipper handles small notches around pipes. A notched trowel (1/4×1/4-inch or 1/2×1/2-inch depending on tile size) spreads thinset evenly. Don’t skip a tile spacers, consistent grout lines look professional.
Acclimate materials. Let tile and thinset sit in the room for 24 hours before installation so they adjust to temperature and humidity. This prevents cracking or adhesion failures.
Seal natural stone before grouting. A pre-grout sealer prevents grout from staining porous tile. Seal again after grouting and annually thereafter.
Plan for drying time. Thinset needs 24–48 hours to cure before grouting. Grout needs 72 hours before sealing. Don’t rush, premature foot traffic or moisture can ruin the job.
If your project involves moving plumbing, gas lines, or electrical, pull permits and hire licensed tradespeople. Tile is DIY-friendly for cosmetic updates, but structural or systems work isn’t. Inspiration from modern home design resources can help you visualize the finished project, but execution depends on solid prep and patience.
Conclusion
Tile transforms kitchens, but only when chosen and installed with care. Prioritize durable materials for floors, get creative with backsplashes, and never skip the prep work. Measure twice, cut once, and give yourself more time than you think you’ll need. A well-tiled kitchen isn’t just beautiful, it’s built to last.