
A kitchen remodel is one of the most expensive and transformative projects a homeowner can tackle. Get the design wrong, and you’ll fight the layout every time you cook. Get it right, and the space practically runs itself, efficient, organized, and built to last decades. Whether planning a full gut job or rethinking an existing footprint, the principles of good kitchen design haven’t changed much: proper workflow, smart storage, durable materials, and enough light to see what you’re doing. What has changed are the tools, materials, and layout options available in 2026, plus a new wave of integrated technology that actually makes sense for daily use.
Key Takeaways
- An ideal kitchen design prioritizes workflow, storage, and durable materials over trends, ensuring the space functions efficiently for decades.
- The work triangle concept (sink, stove, refrigerator) remains useful, but modern kitchens benefit more from zone-based layouts that accommodate multiple cooks and open-plan living.
- Maximize storage by measuring what you own, assigning everything a logical home based on use, and choosing deep drawers and rollout shelves over fixed cabinets to prevent wasted space.
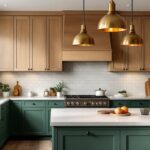
- Select timeless, durable countertop and cabinet materials like quartz or stained wood rather than trendy finishes, and keep wall colors neutral to avoid quick dating of your design.
- Layer your kitchen lighting with ambient, task, and accent lighting using LED fixtures spaced 4–6 feet apart to eliminate shadows and create flexible functionality for cooking, cleaning, and entertaining.
- Integrate smart technology strategically—focusing on genuinely useful features like voice-controlled lighting, remote oven preheating, and touchless faucets rather than paying for unnecessary connectivity.
Understanding the Core Principles of Ideal Kitchen Design
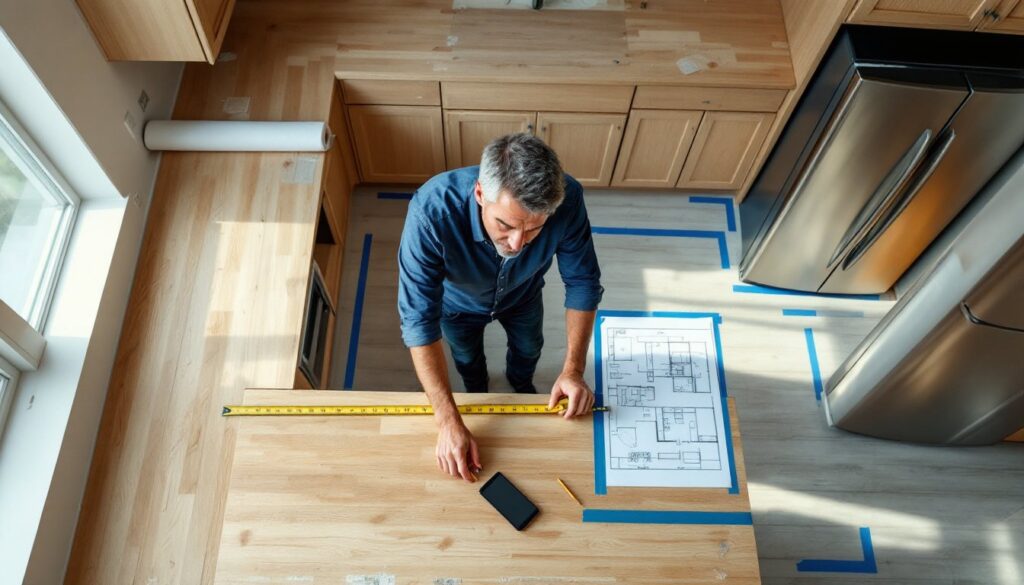
Good kitchen design starts with understanding how the space will actually be used. The goal isn’t just visual appeal, it’s creating a workspace that handles meal prep, cleanup, and storage without unnecessary steps or bottlenecks.
Most functional kitchens share a few traits: adequate counter space flanking the cooktop and sink, appliances positioned to minimize cross-traffic, and storage located near the point of first use. Cabinets should open without blocking pathways. Counter depth should accommodate appliances without crowding the work surface. Islands need at least 42 inches of clearance on all sides for comfortable movement: 48 inches is better if multiple people cook at once.
Think about your actual cooking habits. If you bake weekly, plan for lower storage for mixers and a dedicated landing zone near an outlet. If you rarely cook but entertain often, prioritize beverage storage, serving areas, and dishwasher access. The ideal layout for one household can be a disaster for another.
The Kitchen Work Triangle and Modern Layout Alternatives
The work triangle, the path between sink, stove, and refrigerator, has guided kitchen design since the 1940s. The concept is simple: keep these three points close enough to minimize steps, but far enough apart to avoid congestion. The traditional guideline calls for a combined triangle perimeter of 13 to 26 feet, with no single leg shorter than 4 feet or longer than 9 feet.
It’s still a useful mental model, but it doesn’t fit every modern kitchen. Open-plan layouts, multiple cooks, and large islands have pushed designers toward work zones instead: prep zone, cooking zone, cleanup zone, and storage zone. Each zone gets its own counter space, tools, and storage. For example, the prep zone might include a secondary sink, cutting boards, knives, and mixing bowls, while the cleanup zone holds the main sink, dishwasher, trash, and dish soap.
If your kitchen will regularly host two cooks, design for parallel or separate zones rather than forcing both into a single triangle. That might mean a cooktop on the island and wall ovens on the perimeter, or dual sinks at opposite ends of the counter.
Choosing the Right Kitchen Layout for Your Space
Your layout options depend on the room’s dimensions, door and window placement, and whether walls can be moved. Most kitchens fall into a few proven configurations.
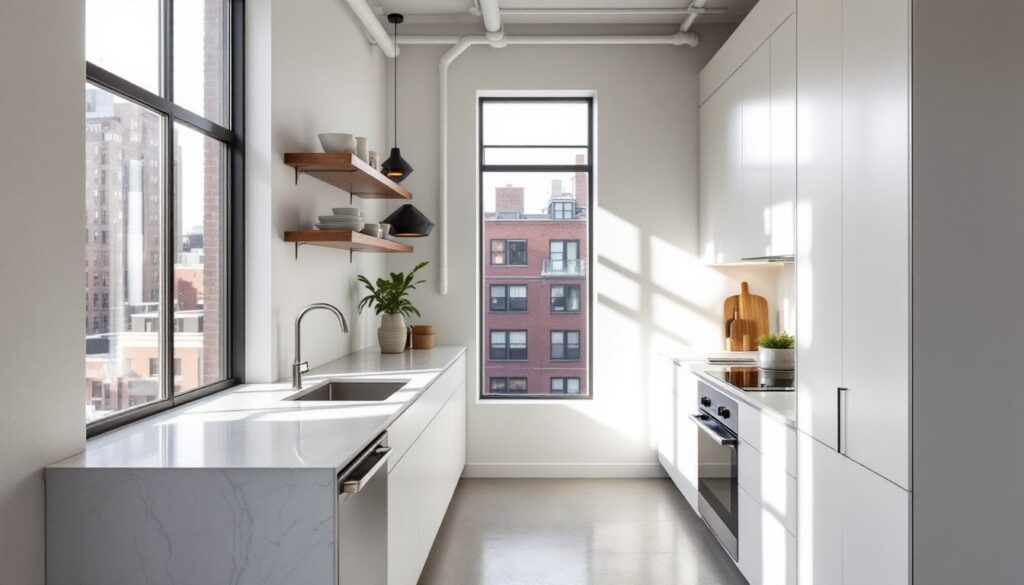
Galley (corridor) kitchens place cabinets and appliances along two parallel walls. They’re efficient for small spaces and naturally support the work triangle. Keep the aisle width between 42 and 48 inches, narrower feels cramped: wider forces extra steps. Avoid placing the stove and sink directly opposite each other to prevent traffic jams.
L-shaped layouts wrap two adjacent walls and work well in open-plan homes. They free up space for a dining table or island. The corner typically holds a lazy Susan or corner pullout to avoid dead storage.
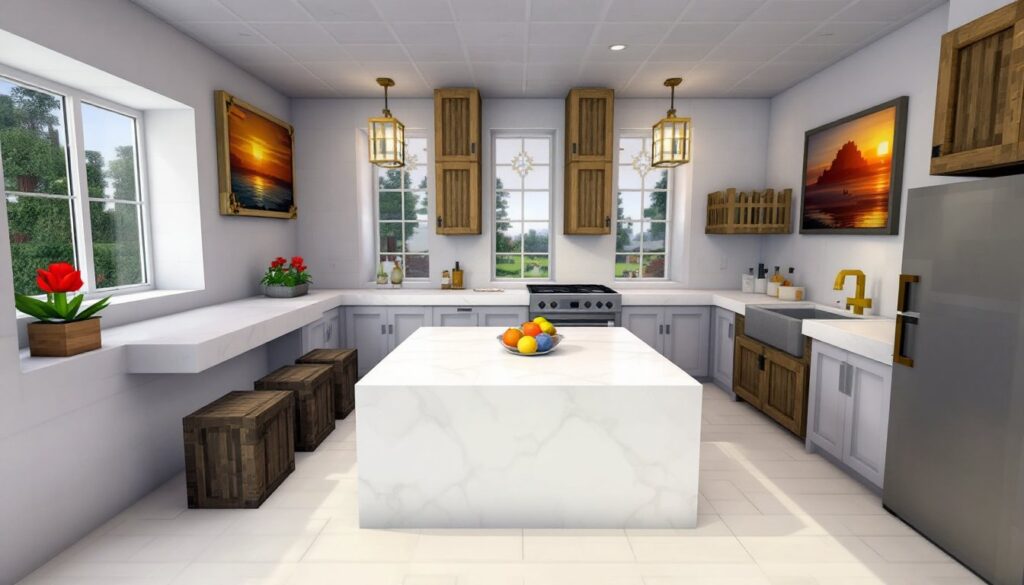
U-shaped kitchens offer maximum counter and storage but require a room at least 10 feet wide. They can feel closed-in if cabinetry runs too high or the space is narrow. Open shelving on one wall or a pass-through window can lighten the feel.
Island and peninsula layouts add a fourth work surface and often house the cooktop, sink, or seating. Islands need serious space: a functional island is at least 4 feet long by 2 feet deep, and the room must be large enough to maintain clearances. Peninsulas attach to existing cabinetry and work in tighter footprints.
Don’t force an island into a small kitchen just because it’s trendy. A cramped island blocks movement and wastes space. If your room is under 13 feet wide, a galley or L-shape is usually smarter. Examining diverse layout configurations can help clarify what fits your footprint.
Maximizing Storage and Organization in Your Kitchen
Storage failures are the most common kitchen design regret. You can’t add square footage after the cabinets are installed, so plan for more capacity than you think you need.
Start by measuring what you own: pots, pans, small appliances, pantry staples, serving dishes. Then assign each category a home based on use. Everyday dishes go near the dishwasher. Spices and oils live near the cooktop. Baking supplies cluster near the mixer.
Base cabinets are 24 inches deep and hold heavy or bulky items. Use rollout shelves or deep drawers instead of fixed shelves, reaching into the back of a base cabinet is awkward and wastes space. Drawers with full-extension slides let you access every inch.
Wall cabinets run 12 inches deep and typically mount 18 inches above the countertop. Extend them to the ceiling if your budget allows: the top shelves store seasonal or rarely used items. Leave at least 15 inches of clearance above the cooktop for safety and code compliance, more if you’re installing a range hood.
Corner cabinets are tricky. Lazy Susans work for canned goods and pantry items. Blind corner pullouts are pricier but maximize access. Avoid dead corners where items disappear forever.
Pantry cabinets should be at least 12 inches deep for single-file storage, or 24 inches for double rows with pullout shelves. Integrating clever organization ideas from design-focused resources can help optimize awkward spaces.
Don’t underestimate drawer organization. Dividers, peg systems, and tiered inserts keep utensils, cutlery, and tools from becoming a jumbled mess. Spring for soft-close hinges and drawer glides, they add cost upfront but eliminate slamming and wear over time.
Selecting Materials, Finishes, and Color Schemes That Last
Material choices define durability, maintenance, and resale value. Trendy finishes date quickly: classic materials age gracefully.
Countertops take the most abuse. Quartz is engineered stone, non-porous, stain-resistant, and available in consistent colors and patterns. It doesn’t need sealing but can discolor under prolonged heat or UV exposure. Granite is natural stone with unique veining: it requires periodic sealing but handles heat well. Butcher block (typically hard maple) offers warmth and a built-in cutting surface, but it scratches, stains, and needs regular oiling. Laminate has improved dramatically, modern high-pressure laminates mimic stone and wood at a fraction of the cost, though edges and seams remain vulnerable.
Avoid marble in heavy-use areas. It etches from acidic foods (lemon juice, vinegar, tomato sauce) and stains easily. Save it for a baking zone or decorative backsplash.
Cabinet finishes set the visual tone. Painted cabinets (typically MDF or hardwood frames) offer unlimited color options but show wear at edges and corners. Touch-ups are easy if you keep leftover paint. Stained wood (oak, maple, cherry, walnut) showcases grain and hides minor damage better than paint, but color choices are limited to wood tones. Thermofoil (vinyl film over MDF) resists moisture and is budget-friendly, but it can peel near heat sources like dishwashers and ovens.
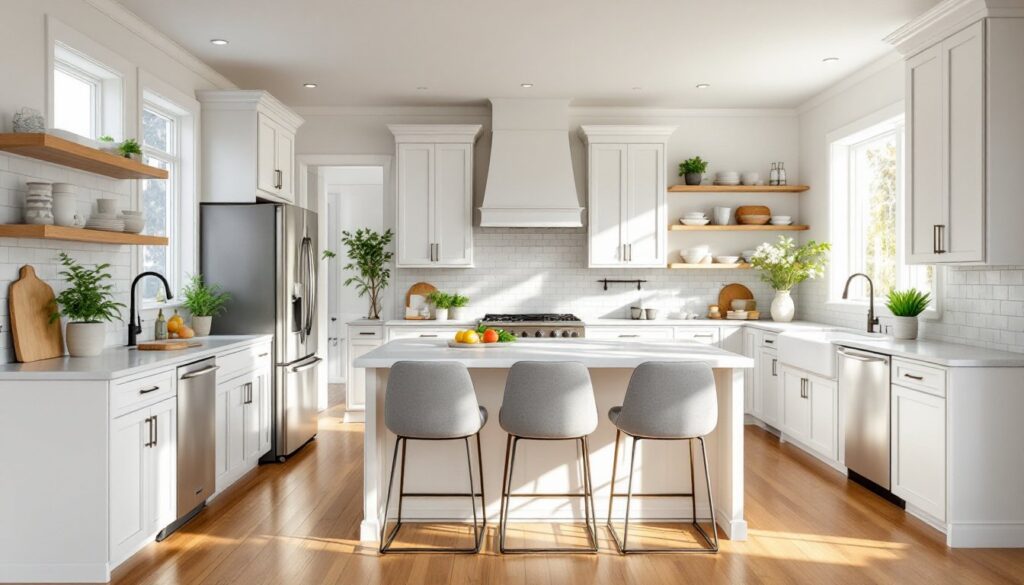
For color, neutrals offer flexibility: white, gray, navy, and natural wood tones anchor a design without fighting future decor changes. If you want bold color, limit it to an island or lower cabinets and keep uppers neutral.
Backsplashes protect walls from splatter and add personality. Ceramic subway tile is affordable, timeless, and DIY-friendly. Porcelain handles heat and moisture better than natural stone and comes in realistic wood and concrete looks. Glass tile reflects light and brightens dark kitchens but shows smudges and grout lines. Keep grout joints tight (1/16 to 1/8 inch) and use epoxy grout for stain resistance. Exploring material pairings and finish combinations from contemporary projects can inform your palette.
Lighting Design: Layering for Function and Ambiance
Lighting is non-negotiable for kitchen safety and usability, yet it’s often an afterthought. Proper kitchen lighting uses three layers: ambient, task, and accent.
Ambient lighting provides overall illumination. Recessed LED cans are the workhorse: space them roughly 4 to 6 feet apart in a grid pattern, and keep them 18 to 24 inches from the wall to avoid shadowing upper cabinets. Use 3000K to 3500K color temperature for warm white light that doesn’t skew food colors. A 10-by-12-foot kitchen typically needs six to eight recessed fixtures at 65 to 75 watts equivalent (about 800 to 1000 lumens each).
Ceiling-mounted fixtures or a central pendant can supplement recessed lights, but don’t rely on a single overhead fixture, it casts shadows wherever you stand.
Task lighting targets work surfaces. Under-cabinet LED strips or puck lights eliminate shadows on countertops. Mount them toward the front of the cabinet, not the back, and use a diffuser or lens to prevent hot spots. Puck lights create scalloped pools of light: strips offer even coverage. Wire them to a dimmer for flexibility.
Light the inside of cabinets with battery-powered or low-voltage LED strips, especially in glass-front uppers or deep pantries. Over the sink, a recessed can or small pendant prevents shadows while washing dishes.
Accent lighting adds depth and highlights architectural features, open shelving, glass cabinets, or a tile backsplash. LED strips along the toe-kick or atop cabinets create a soft glow for late-night navigation without blasting the whole room.
Use separate switches or smart dimmers for each layer. You don’t need task lighting while entertaining or accent lighting while prepping dinner. Dimmers extend bulb life and let you adjust mood. Most LED fixtures are dimmable, but confirm compatibility with your dimmer switch to avoid buzzing or flickering.
Integrating Smart Technology Into Your Kitchen Design
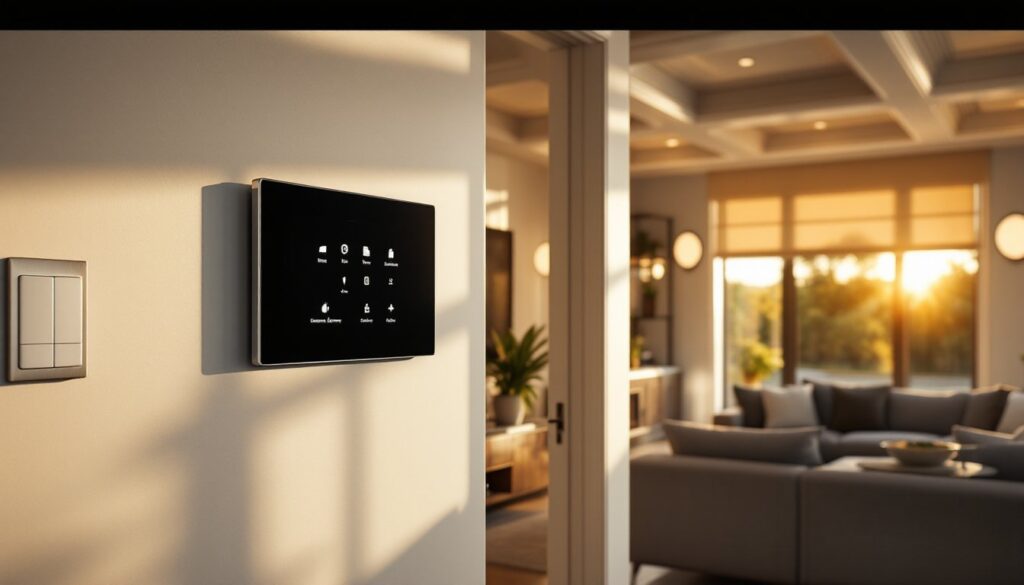
Smart tech in kitchens has moved past gimmicks into genuinely useful territory, voice-controlled lighting, automated ventilation, appliances that communicate, and touchless faucets that reduce cross-contamination.
Smart lighting integrates easily with systems like Lutron Caseta, Philips Hue, or built-in platforms (Amazon Alexa, Google Home, Apple HomeKit). Program scenes for cooking, cleanup, and entertaining, and control everything from your phone or voice commands. Motion sensors can trigger under-cabinet lights when you enter at night.
Wi-Fi-enabled appliances let you preheat the oven remotely, get alerts when the dishwasher finishes, or check the fridge cam from the grocery store. Useful features, but avoid paying a premium for connectivity you won’t use. A smart range is handy: a smart toaster is overkill.
Touchless faucets (with motion or proximity sensors) keep handles clean when your hands are covered in raw chicken or dough. Most retrofit onto standard sinks and run on batteries or low-voltage power. Models from Moen, Delta, and Kohler offer manual overrides if the sensor fails.
Smart ventilation ties range hoods to cooktop activity or air-quality sensors. Some hoods auto-adjust fan speed based on heat and smoke detection, then shut off after the air clears. This saves energy and reduces noise.
Charging stations and outlets matter more than ever. Plan for USB outlets in the backsplash or island for phones and tablets. Install a dedicated 20-amp circuit for small appliances (microwave, toaster oven, coffee maker) to avoid tripping breakers. If you’re future-proofing, add extra conduit for low-voltage wiring, smart home tech evolves fast, and running new wire later is expensive.
Don’t hardwire devices that will be obsolete in five years. Use smart plugs or modular systems you can swap out as tech improves. Keep control panels and hubs in a cabinet or pantry, not on display.
Final Thoughts
An ideal kitchen balances aesthetics with hard-won functionality. Prioritize layout and workflow before finishes, invest in quality where it counts (hinges, drawer glides, lighting), and plan storage for what you actually own. Trends fade: good bones last decades. If the project involves moving gas lines, electrical panels, or load-bearing walls, pull permits and hire licensed pros. A well-designed kitchen makes daily life easier, and that’s worth the upfront effort.